
My favorite way to make mood boards is in Sketchbook.

This is about how Sketchbook will look when you open it for the first time.

The first step is to import an image. You can do this by a copying an image from the internet or using the Print Screen feature on your computer.

You can use the magic wand select tool to select all the white space from your image. You’re going to then invert your selection (it’s in the same select toolbar, the button second from the right with a dashed square nested in another dashed square), and then just type Delete and all that white around the piece of furniture will go away so you can layer it with other things.

You need to show the Layer Editor Window, and you can do that by going to Window -> Layer Editor.

I copied in another image. When I copy it, it automatically creates a new layer. In the Layer Editor, I can rearrange the layers so that the rug goes behind the chair, instead of on top of it (I use the little button with the arrows up and down).

Do you see that circle thing on top of the chair? That’s the Quick Transform tool, and you can get to it by clicking on the button that is highlighted in blue in the toolbar. The middle of the Quick Transform tool can be used to resize. Going outward, you can rotate, and at the edge, move an object around.
As you add more layers, you eventually create a mood board. You’ll want to save it as a TIFF file to be able to come back and edit the layers. But if you want to share, you’ll have to save it as a jpeg or a png and flatten the images. Here are some mood boards I’ve created for my house:
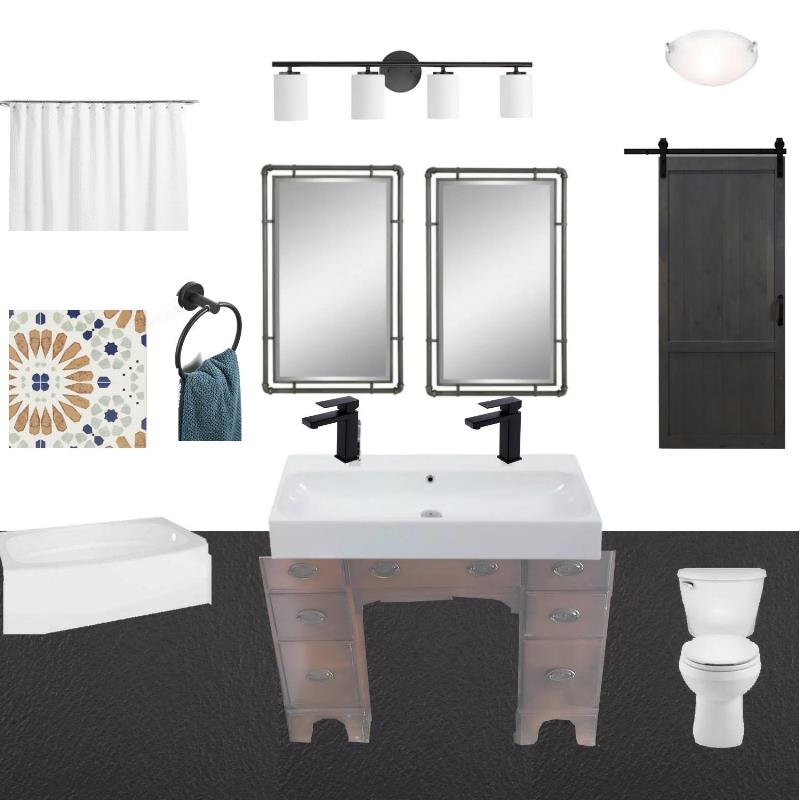

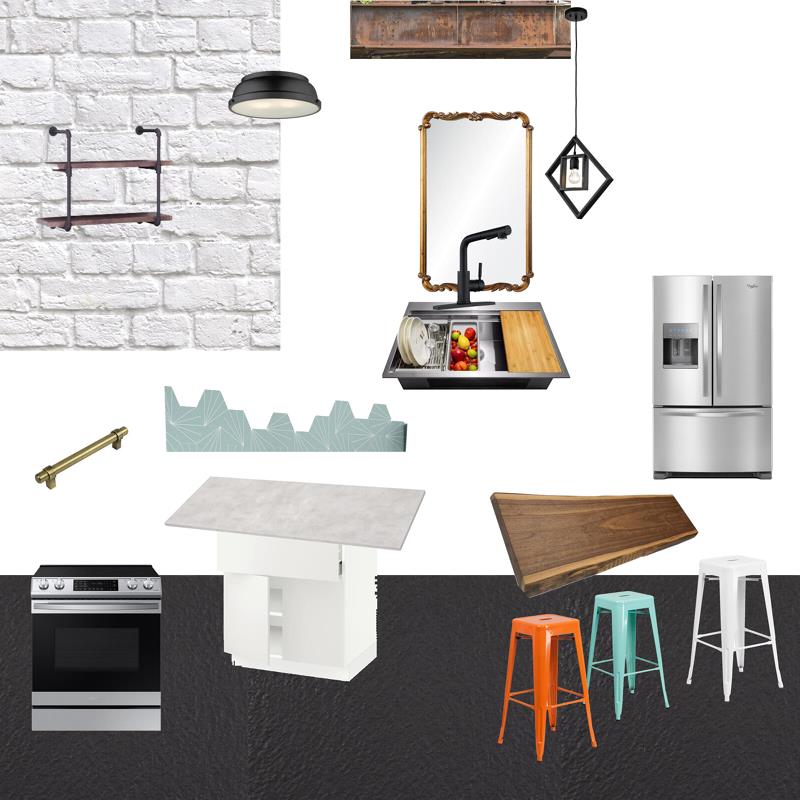
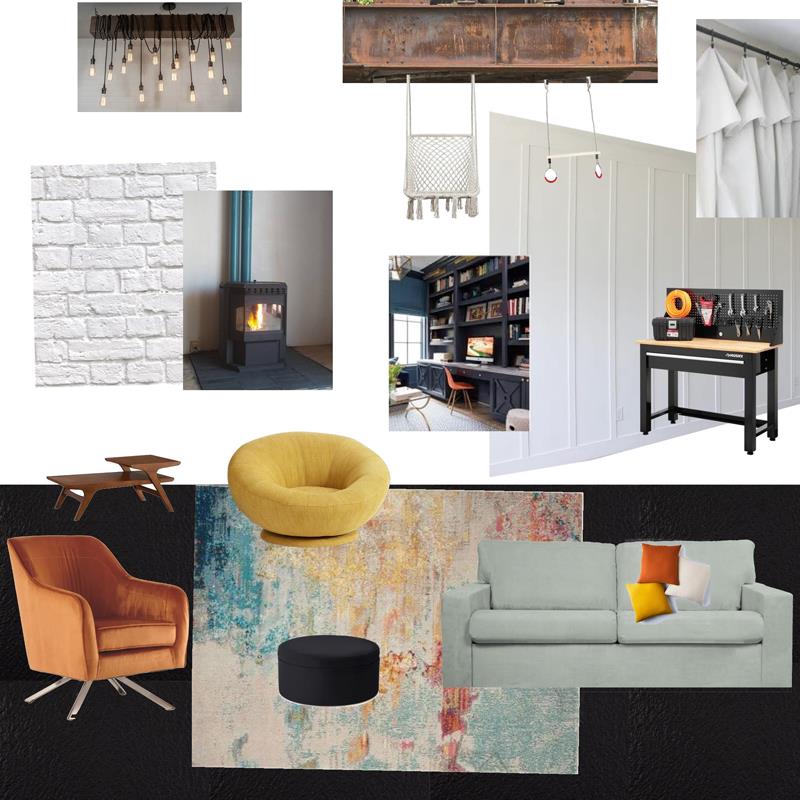
They aren’t perfect, but they still help me visualize my space as I work on selecting finishes.
